Easy Origami Ideas for Bigger Kids: Step-by-Step
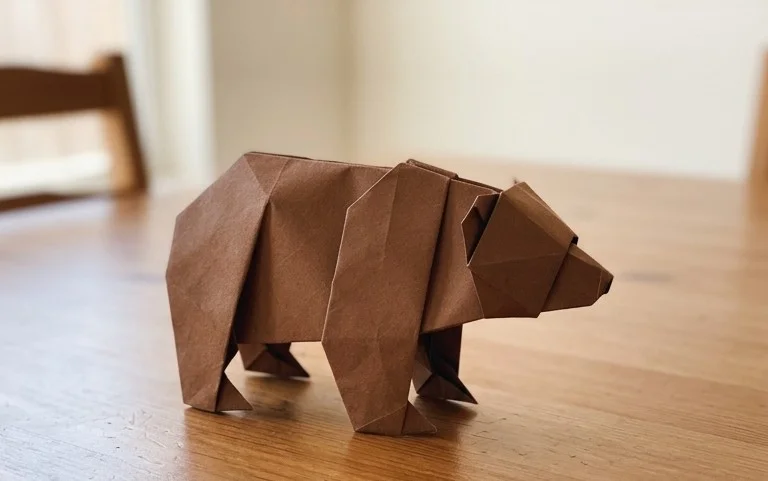
25 Easy Origami Ideas for Bigger Kids are about to transform your afternoon into a vibrant crafting adventure! We’re diving into a world of colorful paper where you’ll fold everything from a majestic flapping bird that truly flies to a cute, cuddly teddy bear that stands on its own. These projects are perfect for complete beginners, older kids looking for a fun challenge, and anyone who wants to create unique handmade gifts or charming decorations for their room. Most of these models can be completed in under 15 minutes, giving you plenty of time to try them all!
In this tutorial, you’ll master foundational origami folds that are essential for countless other creations. We’ll guide you step-by-step, helping you build confidence with each successful fold. Get ready to unleash your creativity and discover the joy of bringing paper to life with your own two hands!
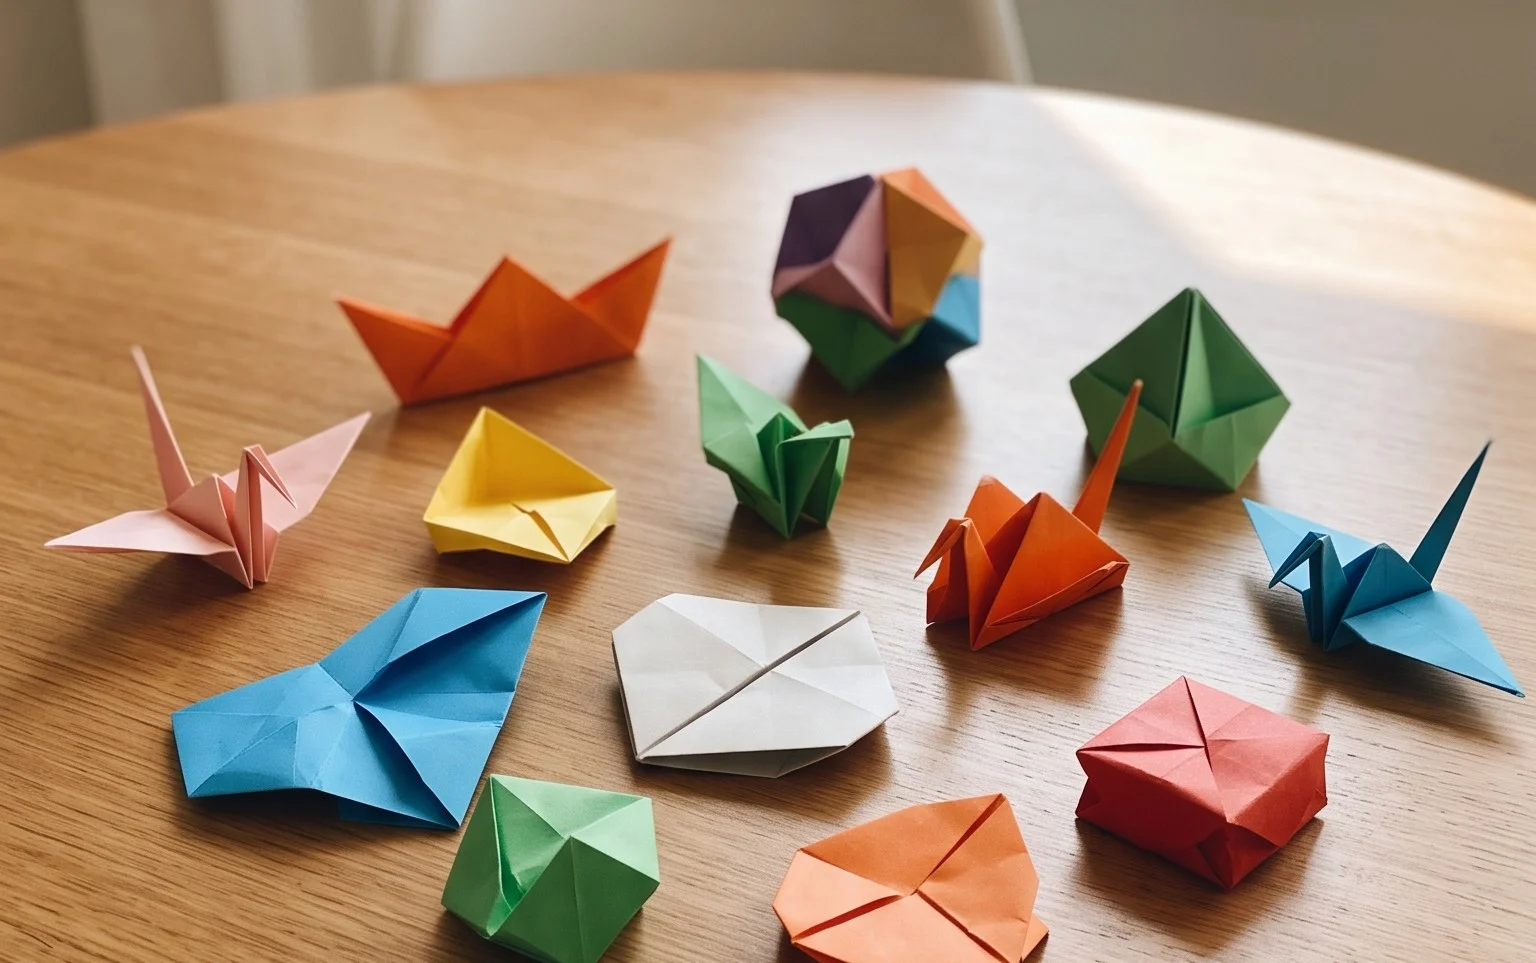
Origami is a fantastic way to engage bigger kids – those pre-teens and teenagers who are often looking for creative outlets that are both challenging and rewarding. It’s a skill that hones focus, improves spatial reasoning, and results in tangible, often beautiful, creations. Today, we’re diving into 25 easy origami ideas perfect for this age group. These projects are designed to be achievable, building confidence with each fold, while still offering enough complexity to keep things interesting.
Choosing Your Paper: The Foundation of Folded Fun
Before we begin our folding adventures, let’s talk about paper. The right paper can make a world of difference in your origami experience. For these easy projects, I recommend starting with standard origami paper.
Type of Paper
Standard origami paper is specifically designed for folding. It’s thin enough to fold cleanly multiple times without becoming too bulky, yet strong enough to hold creases. It’s also usually a bit stiffer than regular printer paper, which helps models maintain their shape.
Paper Weight
Origami paper typically ranges from 60-100 gsm (grams per square meter). For beginners, something in the middle, around 70-80 gsm, is ideal. It’s easy to fold and crease but still has enough body. Avoid very thin paper like tissue paper, as it’s prone to tearing, and very thick cardstock, which will be difficult to fold precisely.
Paper Size
The most common origami paper size is 15 cm x 15 cm (or about 6 inches x 6 inches). This is a great starting point for most of the projects we’ll be covering. Larger sizes can be easier for very young children to manage, but for older kids, the 15 cm size offers a good balance between detail and manageability.
Single or Double-Sided
Origami paper comes in both single-sided (one coloured side, one white side) and double-sided (both sides coloured). For many of these easy models, single-sided paper is perfect because the white side can create interesting contrast and visual depth in the finished piece. However, double-sided paper is also excellent, especially if you want a solid block of colour throughout your model. Sometimes, patterned paper can add an extra layer of fun, but for learning the folds, solid colours are often best so you can clearly see the edges and corners.
Mastering the Base Folds: Your Origami Toolkit
Most origami models start with a few fundamental base folds. Learning to make these cleanly is crucial. It’s like learning your scales before playing a song!
The Valley Fold
A valley fold is the most common fold. Imagine you’re making a smile in the paper. You bring two edges or corners together and crease the paper between them. The crease will look like a valley.
The Mountain Fold
This is the opposite of a valley fold. Imagine you’re making a frown. You crease the paper so that the folded edge sticks upwards, like a mountain peak. Often, you’ll make a valley fold first and then ‘reverse’ it to create a mountain fold.
How to Make Clean Folds
The key to clean folds is precision and pressure.
- Align Carefully: Always take your time to align edges and corners perfectly before creasing. Even a tiny misalignment can throw off the entire model later on.
- Use Your Fingernail: Once aligned, run your fingernail firmly along the fold. This creates a sharp, defined crease that will hold its shape. Don’t be afraid to use a bit of pressure.
- Unfold and Refold (if necessary): If a fold isn’t quite right, it’s better to unfold it and try again rather than leaving a messy crease.
Your First Fold: A Simple Dog Face
Let’s start with something incredibly straightforward to get us going. This dog face is a classic for a reason!
Instructions for the Dog Face
We’ll use a square piece of paper for this.
- Start with the paper coloured side down (if using single-sided paper).
- Fold the square in half diagonally. Bring the bottom left corner up to meet the top right corner. Crease firmly. You should now have a triangle.
- Rotate the triangle so the longest edge is at the bottom and the point is facing upwards.
- To make the ears, take the top layer of the right corner and fold it down diagonally outwards. The fold should start about a third of the way down from the top point and angle outwards and downwards. Repeat this on the left side, folding the top layer of the left corner down to mirror the right ear.
- To make the nose, take the bottom point of the triangle and fold it upwards slightly. This will create a little snout.
- Flip the model over.
- You can now draw eyes and a nose on your dog’s face!
Common Beginner Pitfalls and How to Avoid Them
Even with simple models, a few things can trip up beginners. Don’t get discouraged; these are learning opportunities!
1. Misaligned Corners and Edges
This is the most frequent issue. If your corners aren’t precisely on top of each other, or your edges aren’t perfectly aligned before creasing, the subsequent folds will be off.
How to Avoid: Slow down! Before you crease, double-check your alignment. Gently shift the paper to ensure everything matches up perfectly. It’s better to take an extra 10 seconds to get it right than to spend minutes fixing a wonky model later.
2. Soft, Sloppy Creases
If you don’t crease firmly, your model will be floppy and won’t hold its shape.
How to Avoid: Use your fingernail! After aligning your paper, run your fingernail firmly along the fold line. For thicker paper or challenging folds, you can even use the edge of a ruler or a bone folder (if you have one). A sharp crease is a happy crease!
3. Folding in the Wrong Direction
Sometimes, you might fold a flap inwards when it should be folded outwards, or vice-versa.
How to Avoid: Read the instructions carefully and visualize the fold before you make it. Imagine the paper’s path. If you’re unsure, look at diagrams or videos of the specific model if you get stuck (though we’re aiming for word-based clarity here!). For the dog’s ears, for example, the instruction to fold “outwards” is key – you’re folding away from the center line of the face.
Varying Your Origami Creations
Once you’ve mastered the basics, the fun truly begins with variations!
Size Matters
Simply use a larger or smaller square piece of paper. A larger sheet will result in a larger finished model, which can be great for making a statement. Smaller pieces are wonderful for creating a swarm of tiny animals or intricate decorations. Just remember that smaller paper can be more fiddly, so it’s good practice to try a larger size first before going very small.
Paper Patterns and Colours
This is where you can really let your personality shine!
- Patterned Paper: Origami paper comes in an astonishing array of patterns – geometric designs, floral prints, even themed patterns for holidays. Using patterned paper can instantly transform a simple model into something unique.
- Solid Colours: Experiment with different colour combinations. For a model that has two coloured sides, like many boxes or animals, you can choose colours that complement each other. For models where only one side shows, choose colours that make you happy!
- Metallic or Pearlescent Paper: These papers add a touch of elegance and shimmer to your creations, making them perfect for special occasions.
Displaying and Gifting Your Origami Masterpieces
Your folded creations are too good to hide away!
Display Ideas
- Mobile: String several small origami birds, stars, or geometric shapes together to create a beautiful mobile for a bedroom or as a decorative piece.
- Garland: Punch a small hole in the top of folded figures like flowers, animals, or even simple triangles, and string them together with thread or ribbon to make a festive garland.
- Desk Buddy: Larger, self-standing models like animals or boxes can be great desk accessories.
- Corner Bookmarks: Many simple origami models can be folded to fit perfectly over the corner of a book page.
Gifting Ideas
Origami gifts are incredibly thoughtful because they are handmade. Consider:
- A ‘Box of Goodies’: Fold a charming origami box and fill it with small treats, a handwritten note, or even a small gift.
- ‘Good Luck’ Charms: Fold a crane (a symbol of good luck and longevity) or another auspicious symbol and give it to someone who needs a bit of positivity.
- Party Favors: Small, colourful origami creations make wonderful and eco-friendly party favors.
- Personalized Cards: Glue a small origami embellishment onto a handmade card for an extra special touch.
The world of origami is vast and endlessly fascinating. These 25 easy ideas are just the beginning. As you practice, your confidence will grow, and you’ll find yourself eager to tackle more intricate designs. So, grab your paper, make some clean creases, and let the folding begin!
Conclusion
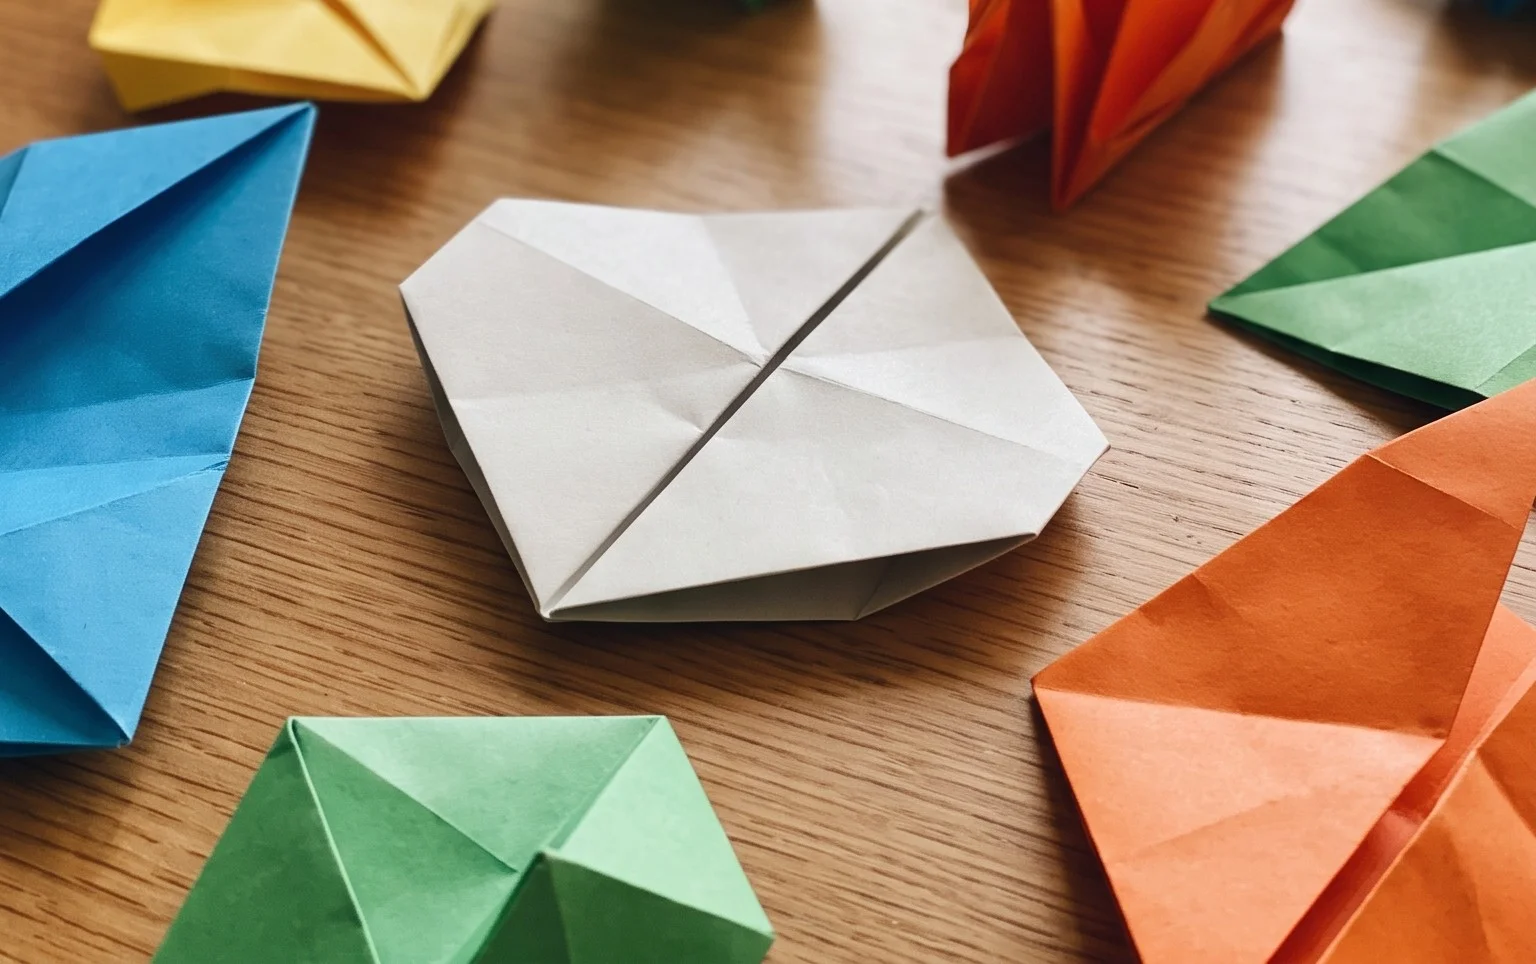
Congratulations on folding your first! Remember, the most important thing is to have fun with these easy origami ideas for bigger kids. Don’t worry if your first attempt isn’t perfect; every fold is a learning experience and practice makes perfect. Once you’ve mastered a model, why not share your creation with a friend or family member? For your next adventure, try adding a pop of color by using patterned paper, or perhaps experiment with using slightly thicker cardstock for a more robust model. The world of paper crafts is vast and exciting, so keep exploring and discovering new origami wonders!