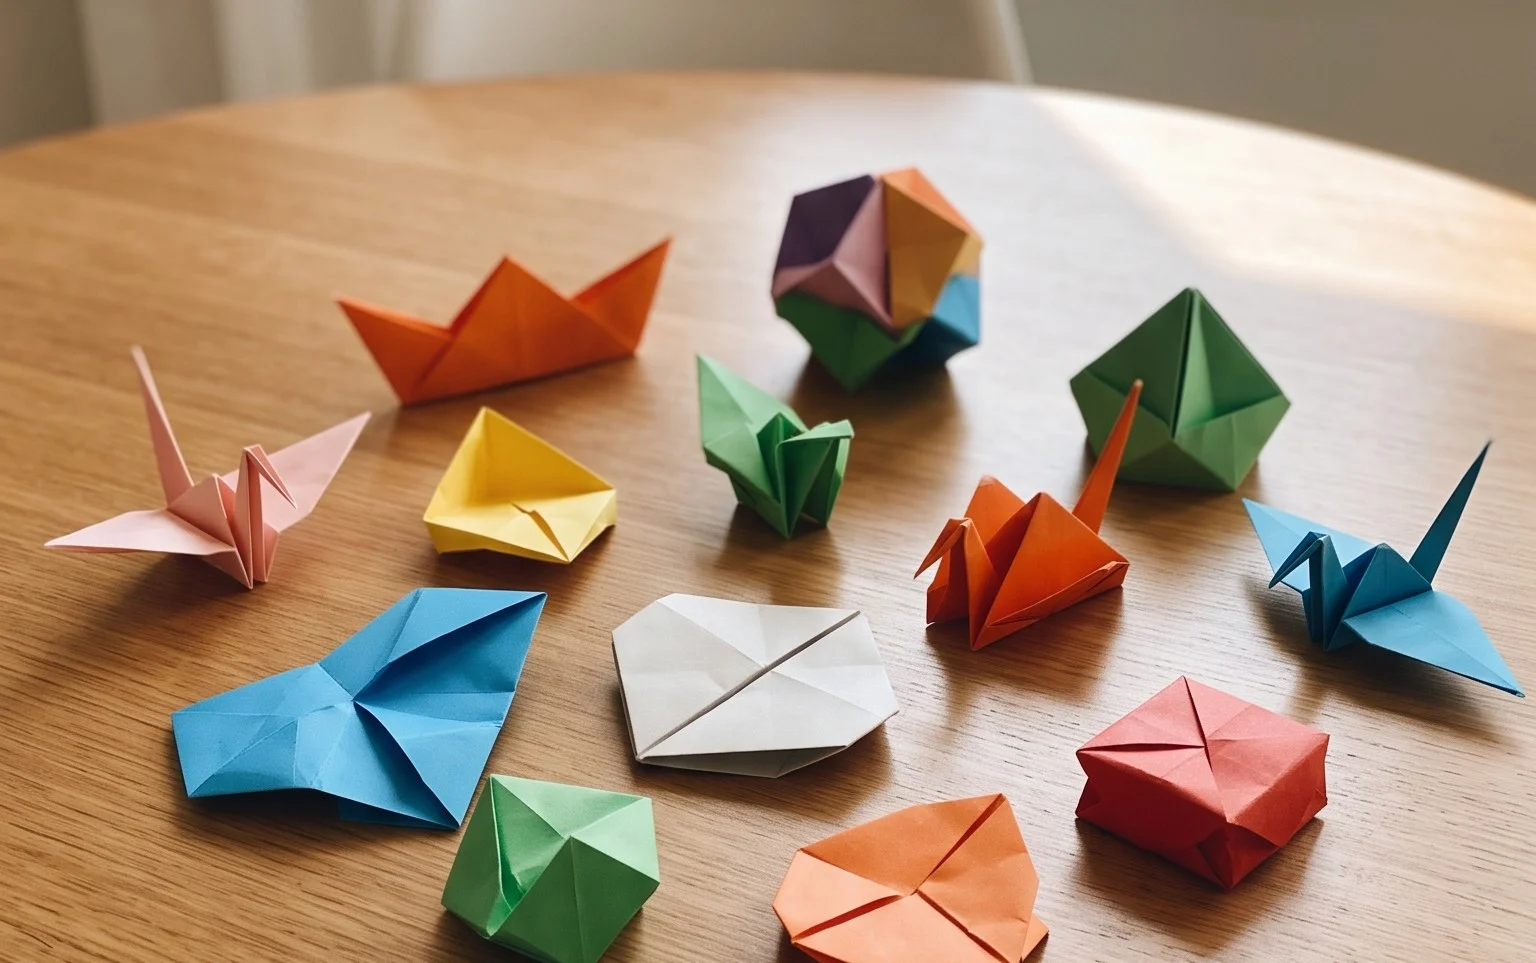
Easy Origami Bear: Step-by-Step Paper Craft
Origami Bear: Step-by-Step Instructions await you! Get ready to fold your very own adorable origami bear, a charming little creature with a rounded body, two perky ears, and a sweet, stubby nose. This project is perfect for complete beginners, curious kids, or anyone looking for a delightful little decoration or a thoughtful handmade gift. You’ll likely spend about 10-15 minutes bringing this little friend to life. We’ll guide you through each fold, turning a simple square of paper into a huggable companion. You’ll learn the fundamental folds that form the base of many origami models and discover how satisfying it is to create something so cute with your own two hands. Let’s get folding!
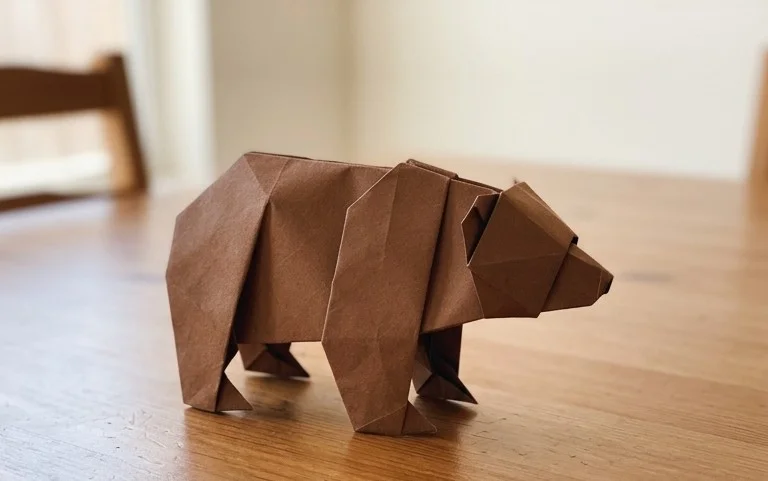
Origami Bear: Step-by-Step Instructions
Creating an origami bear can be a wonderfully rewarding experience, bringing a cute and cuddly creature to life with just a few folds. This tutorial will guide you through the process, ensuring you can make a charming bear, even if you’re new to origami. We’ll cover everything from choosing the right paper to troubleshooting common mistakes and adding your personal touch.
Choosing Your Paper
The paper you choose will significantly impact the look and feel of your origami bear. For a beginner, I recommend starting with standard origami paper.
* **Type:** Traditional origami paper is ideal. It’s thin, strong, and holds creases well, which is crucial for clean folds. Avoid construction paper; it’s too thick and will make crisp folds difficult, especially for smaller models. Cardstock is also too rigid.
* **Weight:** Origami paper typically ranges from 70 to 90 gsm (grams per square meter). This is a good weight for a balance of durability and foldability. Heavier paper can be harder to fold precisely, while lighter paper might be too flimsy.
* **Size:** A 6-inch (15 cm) square is a very common and manageable size for this bear. It’s large enough to practice on without being overwhelming, and the finished model will be a nice desk decoration. You can certainly use larger or smaller squares, but a 6-inch square is a great starting point.
* **Single or Double-Sided:** For this particular bear, you can use either single-sided or double-sided origami paper. If you use single-sided paper, the colour you see on the outside of the finished bear will be the coloured side of the paper, and the inside will be white. If you use double-sided paper, both sides will be coloured, and your bear will have a consistent colour throughout. For a classic teddy bear look, a single-sided paper with white on one side often works beautifully.
Understanding the Base Folds
Before we begin the bear, let’s ensure you’re comfortable with some fundamental origami folds. Making these cleanly is the key to a successful model.
* **Valley Fold:** This is the most basic fold. You bring one edge or corner to meet another, creating a crease that looks like a valley. When you unfold it, the crease dips inward.
* **Mountain Fold:** This is the opposite of a valley fold. You crease the paper so that the crease pops outward when unfolded, like a mountain ridge. Often, you’ll make a valley fold first and then reverse it to create a mountain fold.
* **Creasing:** The secret to clean folds is to press firmly along the crease. Use your thumbnail or a bone folder (if you have one) to flatten the fold completely. Make sure the edges and corners align perfectly before you crease.
The Origami Bear Fold Sequence
Let’s get started with our bear! We’ll assume you have a square piece of paper with the coloured side facing down, white side up.
1. **Diagonal Fold:** Take the bottom left corner and bring it up to meet the top right corner. Crease firmly along the diagonal. Unfold the paper. Now, take the bottom right corner and bring it up to meet the top left corner. Crease firmly. Unfold. You should now have an “X” shaped crease on your paper.
2. **Horizontal and Vertical Folds:** Flip the paper over so the coloured side is facing up. Fold the bottom edge up to meet the top edge, creasing firmly. Unfold. Now, fold the left edge over to meet the right edge, creasing firmly. Unfold. You should now have a “+” shaped crease on this side, in addition to the “X” from the other side.
3. **Waterbomb Base:** This is where things get a little more advanced, but if you’ve creased well, it’s straightforward. With the coloured side still facing up, gently push the left and right sides of the paper inwards towards the centre. The top point will naturally come down. As you push the sides in, the paper should collapse into a smaller square shape. This is your Waterbomb Base. Ensure all the points are sharp and the edges are aligned.
4. **Opening the Flaps:** Place the Waterbomb Base in front of you so the open end (with the loose flaps) is facing away from you. Take the top layer of the right flap and fold its bottom edge inwards to align with the centre vertical crease. Crease firmly. Repeat this with the top layer of the left flap, folding its bottom edge inwards to meet the centre vertical crease. Crease firmly.
5. **Folding the Top Point Down:** You’ll notice the two flaps you just folded inward meet at the top centre. Take the very top point of this shape and fold it downwards, so that the tip of the point rests just above where the two flaps you folded inwards meet. Crease firmly. This fold will be a horizontal line.
6. **Unfolding the Recent Folds:** Now, unfold the two flaps you brought inwards in step 4, and also unfold the top point you folded down in step 5. You should be back to the Waterbomb Base shape, but with new creases.
7. **Petal Fold:** This is a crucial step. Lift the bottommost point of the top layer of paper upwards, along the horizontal crease you made in step 5. As you lift it, use the diagonal creases you made in step 4 to fold the sides inwards. The paper should flatten out into a diamond shape on top. This is called a petal fold. Ensure the edges are neat and the point is sharp.
8. **Repeat on the Other Side:** Flip the entire model over and repeat steps 4 through 7 on this side. You will now have a diamond shape on both sides of your model, with two “legs” at the bottom.
9. **Forming the Head and Body:** Take the top point of the diamond shape on the side facing you. Fold it downwards. How far you fold it down will determine the size of your bear’s head. A good starting point is to fold it down so the tip of this point aligns with the horizontal edge where the two side flaps meet. Crease firmly.
10. **Creating the Ears:** Now, look at the two points that stick out on the sides of the diamond shape you just folded the tip down from. We’re going to turn these into ears. Take the right side point and fold it diagonally downwards and slightly outwards. The angle and position of this fold will define the ear’s shape and position. Do the same for the left side point, making sure the ears are symmetrical. Crease firmly.
11. **Narrowing the Body:** We need to make the bear’s body narrower. Look at the two “legs” at the bottom of your model. Take the right “leg” and fold its outer edge inwards to meet the centre vertical line. Crease firmly. Repeat this with the left “leg,” folding its outer edge inwards to meet the centre vertical line. Crease firmly.
12. **Forming the Paws:** The bottom points of the “legs” you just folded inwards are going to become the bear’s paws. Take the tip of the right-hand folded “leg” and fold it upwards, just a small amount. This will create a little rounded paw. Crease firmly. Repeat this on the left side, making sure the paws are roughly the same size.
13. **Final Touches – The Snout:** The top point you folded down in step 9 is the bear’s head. We can add a little snout. Take the very tip of that point and fold it upwards, just a small amount. This creates a little bump for the snout. Crease firmly.
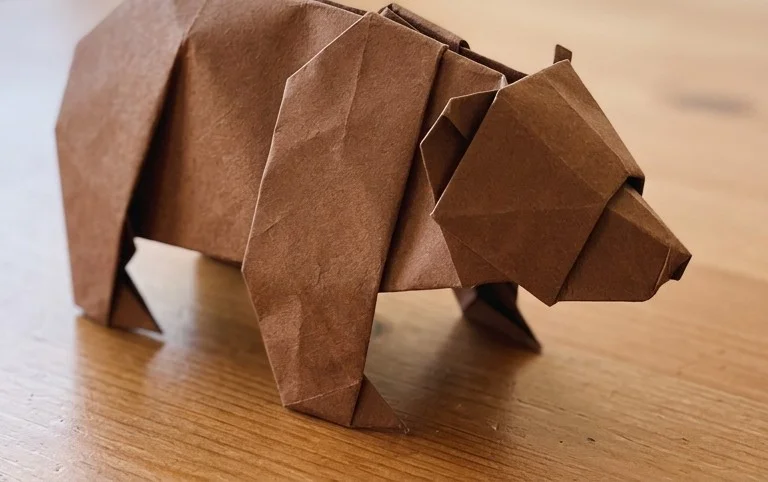
Congratulations! You’ve folded an origami bear.
Common Beginner Mistakes and How to Avoid Them
Even with the best intentions, we all make mistakes when we’re learning. Here are a couple of places beginners often stumble with this bear model and how to steer clear of them:
* **Imperfectly Aligned Folds:** This is probably the most common issue. If your corners don’t meet precisely or your edges aren’t perfectly aligned before you crease, your final model will look wonky.
* **How to Avoid:** Be patient! Take your time with each fold. Before you commit to creasing, lift the paper slightly and adjust so that corners are exactly on top of each other, and edges run perfectly parallel. Use your fingers to hold everything in place while you make the crease. Don’t be afraid to unfold and refold if it’s not quite right.
* **Squashed Petal Folds:** The petal fold (step 7) can be tricky. If you don’t crease the initial folds in step 4 and 5 firmly enough, or if you don’t encourage the paper to collapse correctly, the petal fold can become messy and rounded instead of a crisp diamond.
* **How to Avoid:** Ensure the horizontal and diagonal creases you make in steps 4, 5, and 6 are very sharp. When you lift the bottom point in step 7, gently guide the sides inwards along those creases. Think of it as encouraging the paper to fold where you’ve already told it to fold with your creases. Sometimes a slight pinch at the sides as you lift can help.
Varying Your Origami Bear
Once you’ve mastered the basic bear, you’ll find that small changes can lead to very different-looking creations.
* **Size:** As mentioned, using a larger or smaller square of paper is the easiest way to change the size. If you use a 3-inch square, you’ll have a tiny bear. If you use a 12-inch square, you’ll have a much larger one. Just be aware that smaller paper can be more challenging to fold precisely.
* **Paper Pattern:** This is where you can have a lot of fun!
* **Patterned Paper:** Use origami paper with a pattern. This could be floral, geometric, or even themed (like Christmas patterns). Remember that the coloured side will be the outside of your bear. If the pattern has a strong direction (e.g., a repeating character), consider how it will appear on the finished bear.
* **Solid Colour Paper:** Experiment with different solid colours. A black bear, a brown bear, a pink bear – the possibilities are endless!
* **Two-Toned Paper:** Using paper that is a different colour on each side can also create interesting effects. For instance, a brown bear with a lighter brown or white snout.
* **Colour:** Don’t limit yourself to traditional bear colours! Make a blue bear, a green bear, a rainbow bear. Origami is all about creativity.
Displaying or Gifting Your Finished Model
Your completed origami bear is not just a folded piece of paper; it’s a work of art!
* **Display:**
* **Desk Buddy:** The most common display is simply placing it on a desk, shelf, or windowsill. It adds a touch of charm and personality to any space.
* **Mobile:** If you make several bears of different sizes, you can string them together to create a whimsical mobile for a child’s room or a creative workspace.
* **Part of a Diorama:** Your bear can be a character in a larger origami scene or diorama.
* **Gifting:**
* **Small Token of Appreciation:** An origami bear is a thoughtful and personal gift that requires no electronics or batteries. It’s perfect for friends, family, or colleagues.
* **Gift Topper:** Attach a finished bear to the top of a wrapped gift for a special, handmade touch.
* **Party Favors:** If you’re having a party, making a batch of small origami bears can be a unique and memorable party favor for your guests.
* **Part of a Care Package:** Tuck a little bear into a care package for someone who needs a little cheer. It’s a sweet reminder that someone is thinking of them.
Folding an origami bear is a delightful journey. With a little practice and patience, you’ll be creating a menagerie of these charming creatures in no time. Enjoy the process, and have fun with your creations!
Conclusion
Congratulations on folding your very own origami bear! We hope you enjoyed this step-by-step tutorial. Don’t worry if your first attempt isn’t perfect; practice makes perfect in origami, and every fold is a learning experience. We encourage you to share your adorable creations with friends and family – they’ll be delighted!
Next Steps:
Ready for more? Try folding a more complex origami bear, or perhaps a different animal like a cat or a dog. There are so many wonderful paper projects waiting for you to explore!