Easy Paper Lanterns: Kids Craft Step-by-Step
Paper Punch-Out Lanterns are a delightful and simple craft that brings a warm glow to any space! Imagine a charming, open-sided paper lantern, adorned with a delicate pattern of punched-out shapes like stars, hearts, or simple dots. These aren’t just pretty; they’re incredibly easy to assemble, making them perfect for absolute beginners and a fantastic activity for kids. In under 30 minutes, you and your little ones can create these lovely lanterns, perfect for decorating a bedroom, a party, or even as sweet handmade gifts.
In this tutorial, I’ll walk you through each step, showing you how to choose your paper, create beautiful punch-out designs, and fold them into perfect little lanterns. We’ll cover everything you need to know to make your own beautiful, glowing creations. Get ready to have some crafting fun!
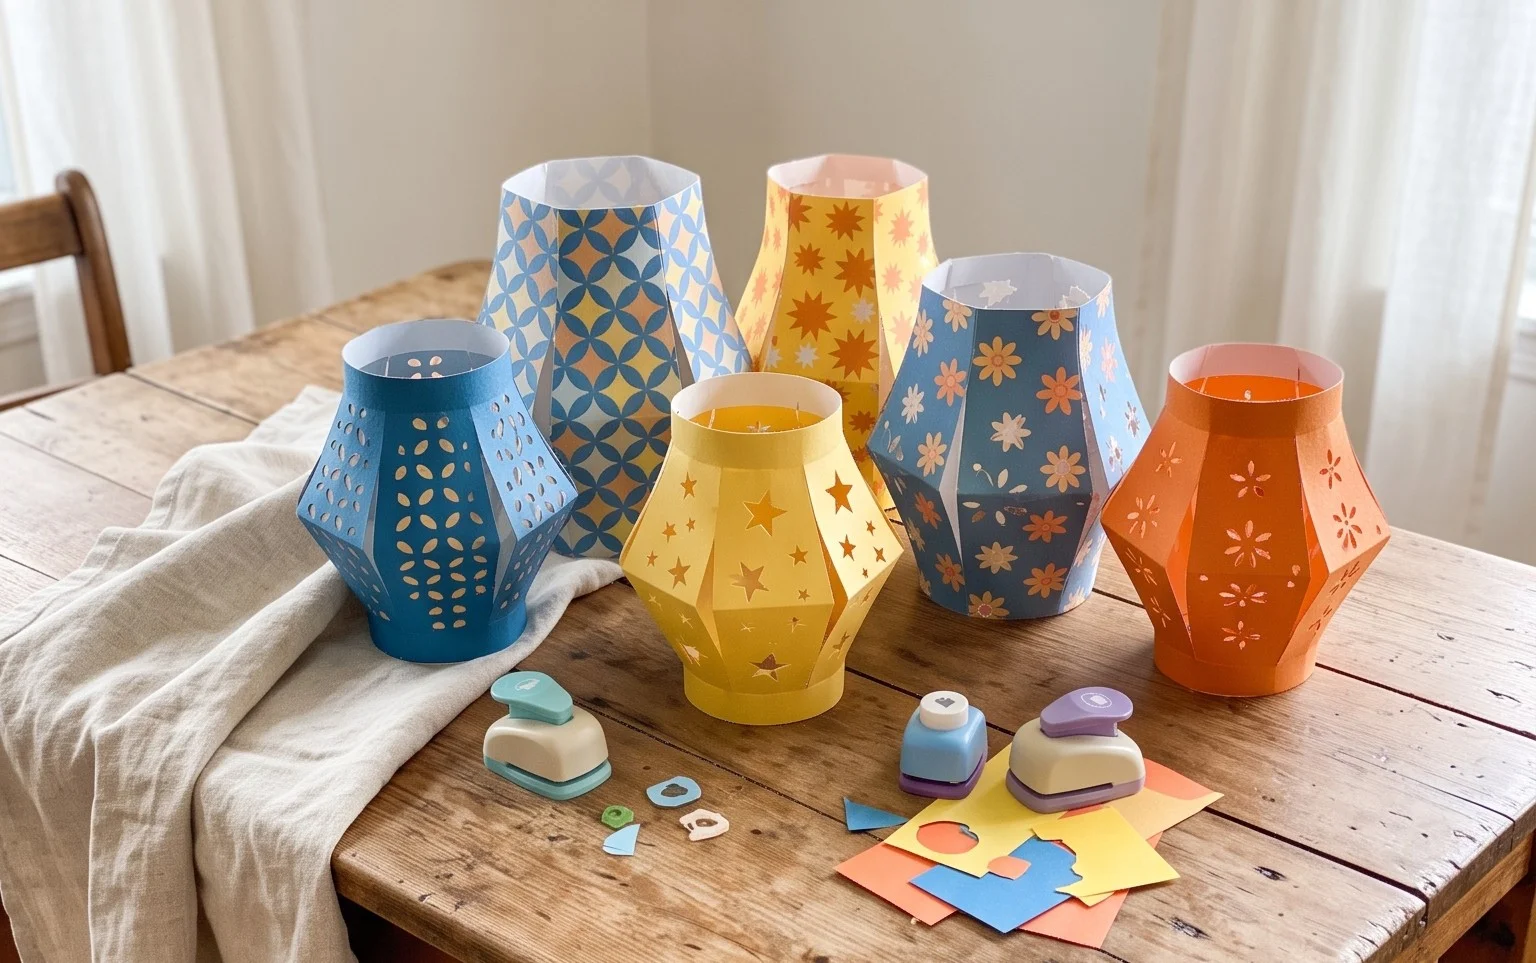
Paper Punch-Out Lanterns: Easy Paper Lanterns Kids Can Make
Hello crafters! Today, we’re going to make something truly magical: paper punch-out lanterns. These are wonderfully simple to create, perfect for little hands (with a little grown-up supervision, of course!), and they cast the most beautiful, soft glow. They’re ideal for decorating a bedroom, a party, or even as a thoughtful handmade gift. We’ll go through everything step-by-step, so don’t worry if you’re new to origami. We’ll make sure every fold is clear and easy to follow.
Choosing Your Paper
The paper you choose is important for the success of your lantern. For these paper punch-out lanterns, I recommend using standard printer paper. It’s readily available, comes in a fantastic range of colors, and has a good weight for folding.
Paper Type and Weight:
Printer paper typically weighs around 20-24 lb (75-90 gsm). This weight is light enough to fold cleanly and for the light to shine through beautifully, but sturdy enough to hold its shape. You *could* use cardstock, but it will be much harder to fold for little fingers and the light might not penetrate as well. Thinner paper, like tissue paper, might be too fragile and tear easily during the punching or folding process.
Paper Size:
Standard A4 or US Letter size paper (8.5 x 11 inches or 21 x 29.7 cm) works perfectly. This size will create a good-sized lantern that’s easy to handle. If you want smaller lanterns, you can cut your paper down to a smaller square, but for beginners, sticking to the standard size is easiest.
Single or Double-Sided Paper:
You can use either single-sided or double-sided paper. If you use single-sided paper, make sure you know which side is coloured and which is white. This will matter for how your final lantern looks. Double-sided paper offers the most versatility, as both sides of your lantern will be colourful. If you’re using paper with a pattern on one side and a solid colour on the other, think about which side you want to be the dominant colour of your lantern. For this tutorial, I’ll assume you’re using paper where one side is coloured and you want that side to be the primary colour of your lantern.
The Base Folds: Getting Ready
Before we start punching and folding, there are a couple of essential base folds we need to master. Making these folds cleanly will make the rest of the process much smoother.
The Valley Fold:
A valley fold is the most basic fold. Imagine you are folding the paper in half to make a crease that dips down like a valley. To make a clean valley fold, take one edge of the paper and bring it precisely to meet the opposite edge. Then, run your fingernail or a bone folder firmly along the folded edge to create a sharp crease. Accuracy here is key!
The Mountain Fold:
A mountain fold is the opposite of a valley fold. Imagine a crease that stands up like a mountain peak. To make a mountain fold, you first make a valley fold and then unfold the paper. Then, you push the crease inwards so it pops up. For our lantern, we’ll primarily be using valley folds, but understanding the difference is helpful.
Your Fold-by-Fold Origami Lantern Guide
Let’s get folding! We’ll work with our paper with the coloured side facing down (white side up). This way, when we make our cuts, the coloured part will be on the outside of the lantern.
-
Start with your paper flat on the table, white side up. Fold the paper in half lengthwise. Take the bottom edge and bring it up to meet the top edge precisely. Make a nice, sharp crease along the fold.
-
Keep the paper folded. Now, take the right edge and bring it over to meet the left edge. Make another sharp crease. You should now have a smaller rectangle, folded in half twice.
-
Unfold the paper completely. You should see two creases running across your paper, dividing it into four equal sections. One crease will be horizontal, and one will be vertical.
-
Now, we’re going to fold the paper in half again, but this time horizontally. Take the bottom edge and bring it up to meet the top edge. Make a sharp crease. This is a valley fold.
-
With the paper still folded in half horizontally (so the folded edge is at the top and the open edges are at the bottom), we’re going to make cuts. This is where your scissors or craft knife will come in. You will be cutting *parallel* to the folded edge (the top edge).
-
Begin cutting from the *open* edge (the bottom edge) upwards towards the folded edge. Make your first cut about 1 inch (2.5 cm) from the left edge. Cut about 2 inches (5 cm) into the paper, stopping before you reach the folded edge. Remember, you are cutting through both layers of paper at this point.
-
Make your next cut about 1 inch (2.5 cm) away from the first cut. Continue making parallel cuts, about 1 inch (2.5 cm) apart, all the way across the paper. Leave about a 1-inch (2.5 cm) border of uncut paper along the right edge.
-
Once you have finished making all your cuts, unfold the paper completely. You should have a series of parallel slits running across your paper, leaving a border on both the left and right sides.
-
Now, turn the paper over so the coloured side is facing up.
-
Fold the paper in half vertically, bringing the right edge to meet the left edge. Make a sharp crease. This is a valley fold.
-
Keep the paper folded vertically. Take the top edge (which is the folded edge of your original lengthwise fold) and bring it down to meet the bottom edge (which is the open edge of your original lengthwise fold). Make a very firm crease. This will help to shape your lantern.
-
Now, carefully unfold the paper again. You will see that your cuts have now opened up, and the paper is ready to form into a lantern shape.
-
Gently bring the two uncut edges of the paper together. These are the edges that have remained whole, without any slits. Bring them together to form a cylinder shape. You might need to hold the paper gently to help it curve.
-
Once the edges are meeting, you can secure them. You can use a thin strip of double-sided tape, a glue stick, or even a couple of staples along the seam. Make sure the join is secure but not too bulky.
-
Your paper punch-out lantern is almost ready! The slits you made will now hang down, creating the decorative effect.
Common Pitfalls and How to Avoid Them
Even with the clearest instructions, sometimes things don’t go exactly as planned. Here are a few common spots where beginners might get a little stuck, and how to easily fix them:
-
Uneven Cuts: The most common issue is when the cuts aren’t evenly spaced or are at different depths. This can make your lantern look a bit wobbly. To avoid this: Use a ruler to measure and mark your cut lines before you start. For younger children, it’s also a good idea to lightly mark the length of the cut with a pencil. If you’re using scissors, try to keep them as steady as possible. If using a craft knife, a cutting mat underneath will help.
-
Crushed or Torn Paper: When folding or handling the paper after cutting, it’s easy to accidentally tear or crush the delicate cut edges. To avoid this: Be gentle! When unfolding, especially after the vertical fold, use your fingertips to coax the paper open rather than yanking. When bringing the edges together to form the cylinder, support the paper and allow it to curve naturally. Don’t force it.
-
The Seam Not Lying Flat: When you join the two edges to create the lantern cylinder, if the seam isn’t neat, it can detract from the overall look. To avoid this: Ensure the two edges you are joining are perfectly aligned. If you’re using tape, apply it smoothly and press it down firmly. If you’re stapling, make sure the staples go through both layers neatly and are pressed flat.
Varying Your Lanterns
The beauty of this craft is its versatility! Once you’ve mastered the basic lantern, you can get creative:
Size:
As mentioned earlier, you can use smaller pieces of paper for smaller lanterns. Just remember to adjust the proportions of your cuts accordingly. A square piece of paper will also result in a slightly different shape of lantern.
Paper Pattern and Colour:
This is where the fun really begins!
- Experiment with different coloured printer papers.
- Use patterned scrapbook paper for a more elaborate look.
- Try coloured or patterned cardstock (though remember the folding difficulty).
- Consider using metallic or glitter paper for a festive touch.
- If you have single-sided paper, play around with which side faces out. A solid colour inside and a pattern outside, or vice versa, can create different effects.
Displaying and Gifting Your Lanterns
These lanterns aren’t just pretty to look at; they also serve a purpose!
Display Ideas:
-
Hanging: The simplest way to display them is to punch a small hole in the top of the uncut border on each side and thread some string or ribbon through to hang them. They look lovely clustered together.
-
On a Surface: You can stand them on a table, shelf, or mantelpiece. They add a beautiful ambient light.
-
Party Decorations: String them up for a birthday party, a baby shower, or a holiday celebration. They create a wonderfully festive atmosphere.
-
Night Lights: With a small, battery-operated LED tealight (never use real candles!), these lanterns make charming and safe night lights for a child’s bedroom.
Gifting Ideas:
-
A Set: Make a set of lanterns in coordinating colours or patterns as a thoughtful gift for a friend or family member.
-
Add a Small Treat: You can even carefully place a small, wrapped sweet or a little note inside before sealing the lantern for a surprise gift.
-
Part of a Larger Craft Gift: If you’re giving a craft kit or a collection of handmade items, these lanterns are a wonderful addition.
I hope you and your little ones enjoy making these paper punch-out lanterns as much as I do. They’re a simple craft that brings a lot of joy and a beautiful, soft glow. Happy crafting!
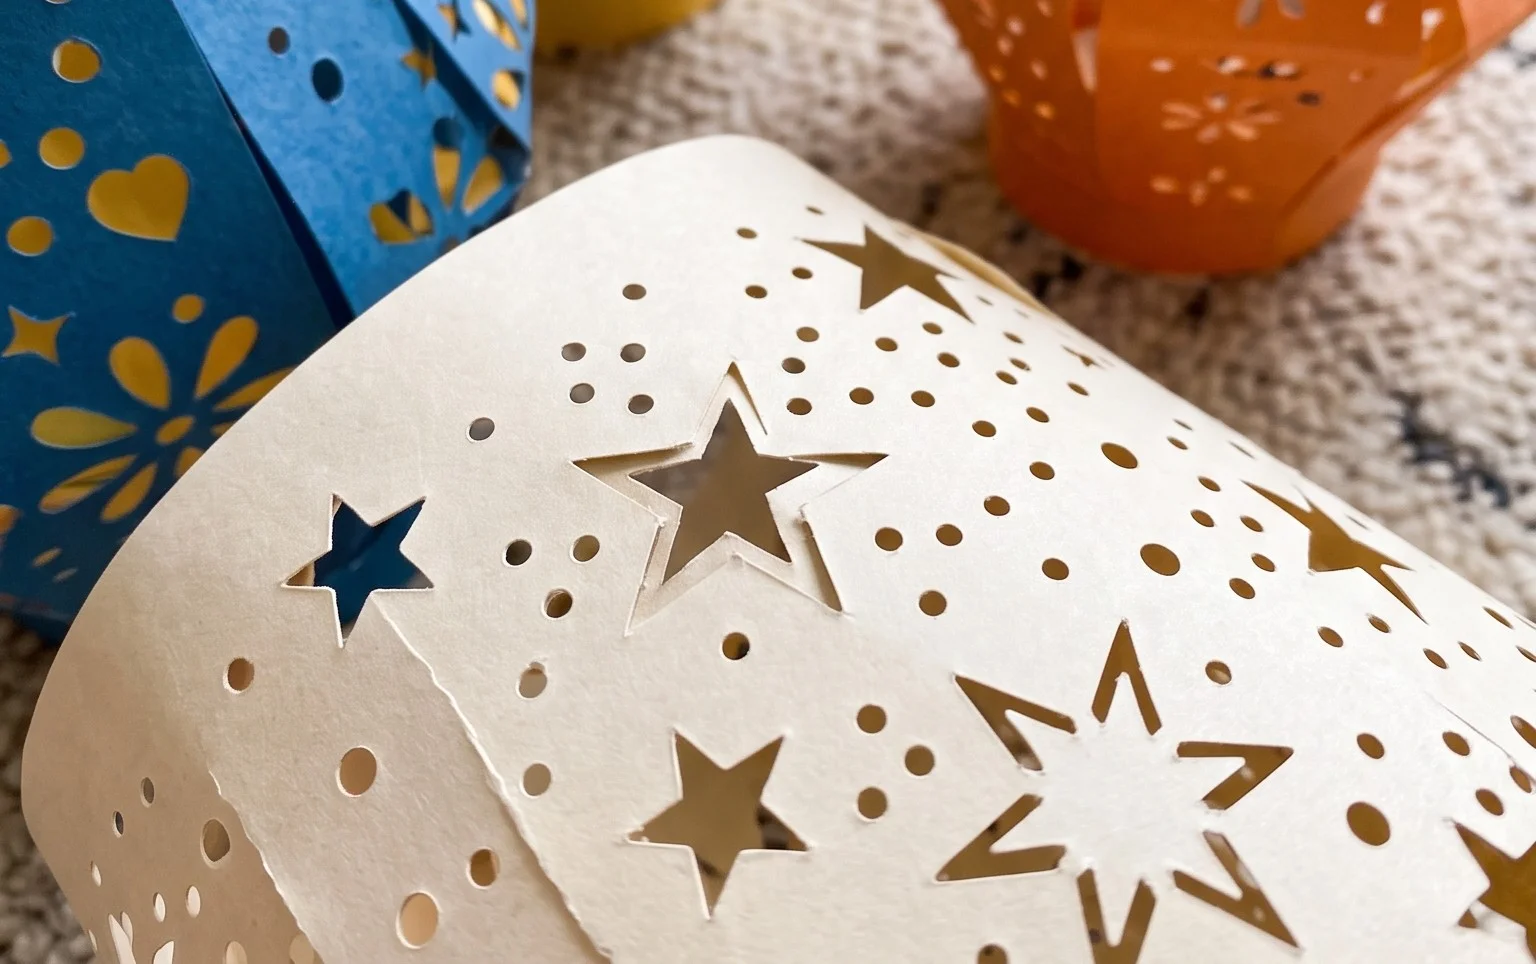
Conclusion
Congratulations on creating your very own paper punch-out lanterns! We hope you had a wonderful time crafting these. Don’t worry if your first lantern isn’t perfect – every creation is a learning experience, and practice makes perfect! We’d love to see your beautiful finished models, so feel free to share them. Ready for more fun? Try adding glitter or using different colored paper for a unique look next time. Keep exploring, and discover even more exciting paper projects to bring joy and creativity into your home!
