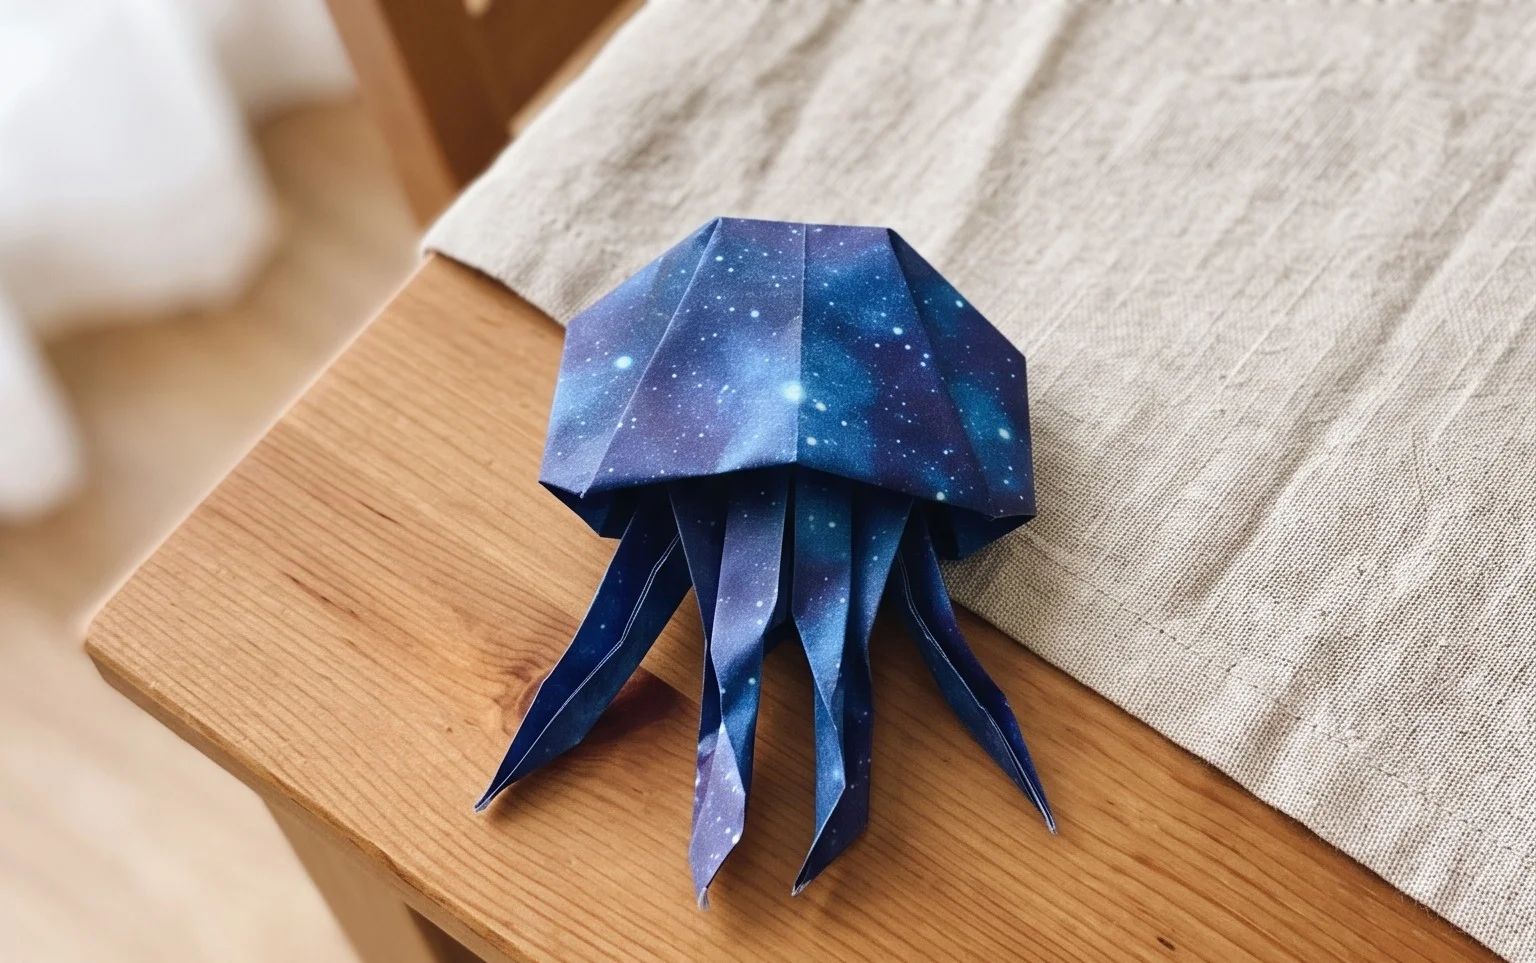
Easy Flextangle Origami: Paper Toy Step-by-Step
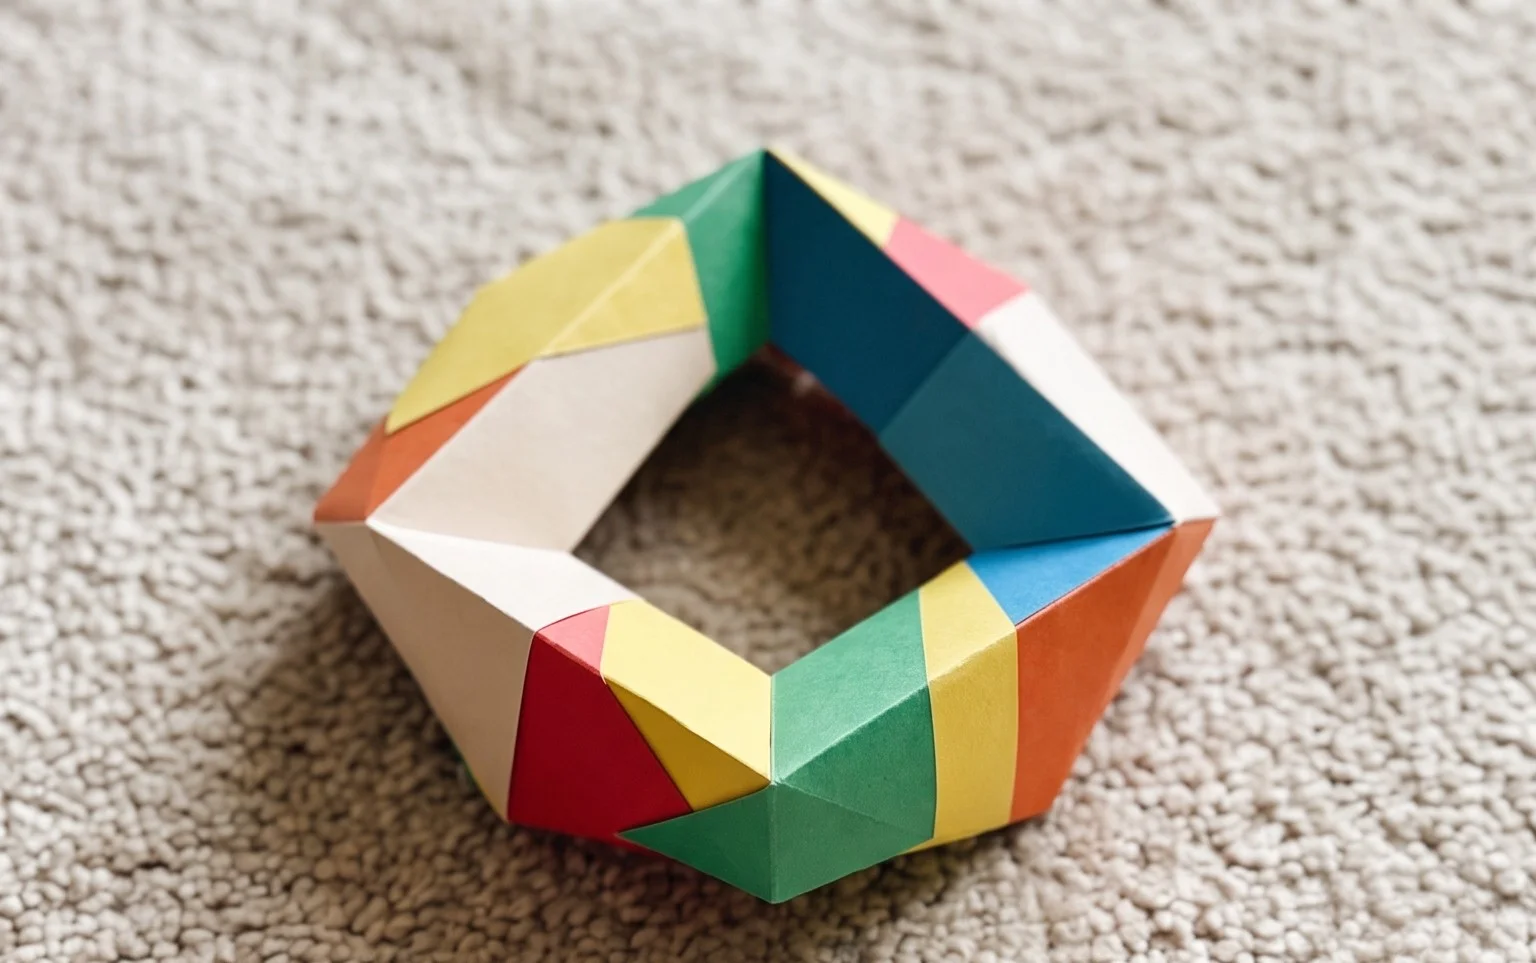
Flextangles are endlessly fascinating geometric puzzles that you can fold yourself! Imagine a vibrant, colorful cube that twists and turns, revealing different patterns and designs as you manipulate it. It’s like a magical, ever-changing kaleidoscope made of paper!
This project is perfect for absolute beginners, especially kids, and makes a fantastic, unique gift or a fun desk decoration. You can have your first flextangle ready to play with in about 15-30 minutes. In this tutorial, I’ll guide you step-by-step through the simple folding process, showing you how to create those satisfying twists and reveals. Get ready to unlock a world of paper wonder – let’s get folding!
Creating Mesmerizing Flextangles: A Paper Toy Adventure
Hello there, fellow paper enthusiasts! Today, we’re embarking on a delightful origami journey to create what’s known as a flextangle. These fascinating paper toys are not only fun to make but also incredibly satisfying to play with. They have a unique ability to twist and transform, revealing different patterns and colors as you manipulate them. They’re often described as kinetic sculptures, and once you’ve made your first one, you’ll understand why! Let’s dive in and bring these magical paper creations to life.
Choosing Your Paper: The Foundation of Flextangle Fun
The first crucial step in any origami project is selecting the right paper. For flextangles, we want something that’s sturdy enough to hold its shape and withstand repeated manipulation, but also flexible enough to fold smoothly and cleanly.
Paper Type and Weight
I generally recommend using standard origami paper, also known as kami. This paper is designed specifically for folding, usually being thin but strong. It has a crisp feel that helps maintain sharp creases. If you don’t have dedicated origami paper, you can opt for printer paper, but be aware that it might be a little thicker and harder to crease precisely. For flextangles, a paper weight of around 70-90 gsm (grams per square meter) is ideal. Anything much heavier might make the folding process difficult and the final model a bit too stiff.
Paper Size
The most common size for flextangles is a square of 6 inches by 6 inches (or approximately 15 cm by 15 cm). This size is manageable for beginners, allowing for precise folds without being too fiddly. You can certainly experiment with larger or smaller squares once you’re comfortable, but starting with 6×6 inches is a good benchmark.
Single or Double-Sided Paper
This is where the magic really happens! Flextangles are *fantastic* when made with double-sided paper. This means the paper has a different color or pattern on each side. As you fold and manipulate the flextangle, these different sides will alternate, creating the mesmerizing visual effect. Look for patterned origami paper or brightly colored sheets that have contrasting colors on each side. If you only have single-sided paper, you can still make a flextangle, but it will be a single color throughout, which is still lovely, just less visually dynamic.
Mastering the Base Folds: Precision is Key
Before we begin the flextangle sequence, let’s ensure we’re comfortable with a couple of fundamental folds. Clean, crisp folds are the backbone of any successful origami model.
The Valley Fold
This is the most basic fold. Imagine you’re making a mountain range where the paper folds *downward* into a “valley.” You bring two edges or corners together, and crease along the line where they meet. Always crease firmly, running your fingernail along the fold to make it sharp.
The Mountain Fold
This is the opposite of a valley fold. Imagine the paper folding *upward* to form a mountain peak. When a pattern instruction calls for a mountain fold, it means you’ll be folding the paper *away* from you along a pre-existing crease line, forming a ridge.
Making Folds Cleanly
The secret to clean folds lies in accuracy and pressure.
- Align Edges Perfectly: Before creasing, ensure the edges or corners you are bringing together match up precisely. Even a slight misalignment can throw off subsequent folds.
- Crease Firmly: Once aligned, press down along the fold line. Use your fingernail, a bone folder, or the edge of a ruler to make the crease sharp and defined. This not only looks better but also makes the paper easier to work with in later steps.
- Unfold When Necessary: Many origami steps involve making temporary creases to guide future folds. Don’t be afraid to unfold paper carefully to reveal these guide creases.
The Flextangle Fold Sequence: A Step-by-Step Guide
Now that we’re armed with the right paper and a good understanding of basic folds, let’s build our flextangle! We’ll start with a square piece of paper.
Let’s assume you have a square piece of paper. For the purpose of these instructions, we’ll say the colored side is facing up, and the white side is facing down.
-
Initial Diagonal Fold: Take the bottom-left corner of your paper and bring it up to meet the top-right corner. Align the edges and crease firmly. You should now have a triangle. Unfold this crease.
-
Second Diagonal Fold: Now, take the bottom-right corner of your paper and bring it up to meet the top-left corner. Align the edges and crease firmly. You should have another triangle. Unfold this crease. You should now have an ‘X’ shaped crease mark on your paper.
-
Bring Edges to Center: With the colored side still facing up, take the right edge of the paper and fold it inwards so it perfectly meets the vertical center crease. Crease firmly. Do the same with the left edge, folding it inwards to meet the vertical center crease. Crease firmly. Your paper should now look like a kite or an ice cream cone shape with a pointed top.
-
Fold Top Point Down: Take the top point of your kite shape and fold it down so the tip meets where the two folded edges meet at the bottom. Crease firmly. This fold should be perpendicular to the long central crease.
-
Flip the Paper: Turn the entire piece of paper over to the other side.
-
Fold Side Edges to Center: You will see a similar kite shape on this side. Take the right edge and fold it inwards to meet the vertical center crease. Crease firmly. Do the same with the left edge, folding it inwards to meet the vertical center crease. Crease firmly. The paper should now be a long, thin rectangle with a point at one end.
-
Fold in Half Lengthwise: Fold the entire model in half lengthwise, bringing the bottom point up to meet the top point. Crease firmly. You’ve now created a folded shape that looks like a long, thin triangle.
-
Fold in Half Again: Fold the model in half again, bringing the left edge over to meet the right edge. Crease firmly. This creates a smaller, thicker triangle shape.
-
Unfold Last Two Folds: Now, unfold the last two folds you just made (steps 7 and 8). You should be back to the shape from step 6, a long, thin rectangle with a point at one end. However, you should now have two new creases running vertically down the center of the model.
-
Prepare for the Twist: This is where it gets interesting! Hold the model with the pointed end facing away from you. You’ll see the vertical creases you made. Gently push the sides inwards along these creases, while simultaneously pulling the two ends (the point and the blunt end) slightly apart. You are essentially creating a kind of ‘accordion’ or ‘zigzag’ effect in the center.
-
The Magic Happens: As you continue to gently manipulate and flex the paper, you’ll feel it start to “tangle” and twist. Keep pushing the sides inwards and flexing. The internal structure of the folds will allow it to move and transform. You’ve made your flextangle!
Common Pitfalls and How to Avoid Them
Even with clear instructions, there are a couple of places beginners sometimes stumble. Don’t worry, these are easily overcome!
1. Imprecise Folding at the Beginning
* **The Problem:** If your initial diagonal folds (steps 1 and 2) or your first set of edge-to-center folds (step 3) are not perfectly aligned, the subsequent folds will be off, and the flextangle might not close up properly or might have a floppy structure.
* **How to Avoid It:** Take your time with these early folds. Ensure edges are precisely aligned before creasing. Press down firmly to make those initial creases sharp and accurate. It’s better to spend an extra minute here than to have to start over.
2. Forcing the Final Twist (Steps 10 & 11)
* **The Problem:** Some people try to *force* the flextangle into its final twisted shape by bending or creasing it aggressively at the end. This can tear the paper or create unintended, messy folds.
* **How to Avoid It:** The flextangle is designed to *flex* and *twist* naturally. You’re not breaking it; you’re encouraging its internal structure to work. In step 10, gently push the sides inwards. The creases you’ve made should guide this. Then, as you continue to flex, don’t use brute force. Think of it as gently coaxing it. The paper will find its angles. If it feels stuck, check that your previous folds are clean.
3. Not Unfolding Correctly (Step 9)
* **The Problem:** If you forget to unfold the last two folds (steps 7 and 8) completely, you won’t have the necessary vertical creases to create the twisting mechanism.
* **How to Avoid It:** Pay close attention to step 9. Clearly unfold the last two folds. You should be able to see the long, thin shape from step 6 again, but now with two distinct vertical creases running through it. These are essential for the flextangle’s action.
Varying Your Flextangles: A World of Possibilities
Once you’ve mastered the basic flextangle, the fun really begins with customization!
Size Matters
* **Smaller:** Use smaller squares of paper (e.g., 4 inches by 4 inches) for delicate, intricate flextangles. These are great for adding to cards or as small decorative elements.
* **Larger:** Experiment with larger squares (e.g., 10 inches by 10 inches) for more dramatic, eye-catching pieces. Be aware that larger paper might require a bit more strength to fold cleanly.
Paper Pattern and Color
* **Patterned Paper:** This is where the magic truly shines! Use paper with bold geometric patterns, floral designs, or even comic strips. The way the patterns interlock and change as the flextangle twists is mesmerizing.
* **Color Combinations:** Choose paper with complementary or contrasting colors. A red and blue flextangle will look very different from a green and yellow one. Try papers with gradients or metallic finishes for added flair.
* **Mixed Media:** For the adventurous, consider using two different pieces of paper for the first half of the fold (steps 1-6), then assembling them. This adds another layer of complexity and visual interest.
Displaying and Gifting Your Flextangle Creations
These delightful paper toys are not just for playing with; they make wonderful gifts and decorations!
Display Ideas
* **Desk Companions:** Place your flextangle on your desk. It’s a perfect fidget toy for moments of contemplation or stress relief during work or study.
* **Mobile Decorations:** String several flextangles together with fishing line or thin thread to create a unique hanging mobile.
* **Table Centerpieces:** Arrange a few colorful flextangles on a platter for a simple yet elegant table decoration, especially for parties or gatherings.
* **In Jars or Bowls:** Place them in clear glass jars or decorative bowls. They look like colorful, abstract sculptures.
Gifting Ideas
* **Birthday Favors:** Flextangles are fantastic party favors for children’s birthdays. They’re inexpensive, fun, and encourage creativity.
* **Add-on Gifts:** Include a flextangle with a handmade card or a book. It’s a small token that shows you’ve put thought and effort into your gift.
* **Holiday Decorations:** Make themed flextangles for different holidays (e.g., red and green for Christmas, pastels for Easter).
* **”Thinking of You” Gifts:** A handmade flextangle is a thoughtful way to let someone know you’re thinking of them. You can even write a small message on one of the hidden flaps before you finish the fold.
I hope you’ve enjoyed this in-depth look at creating flextangles! They are such a rewarding project, offering a wonderful blend of precision folding and dynamic play. Happy folding, and enjoy the mesmerizing transformations of your new paper toys!
Conclusion
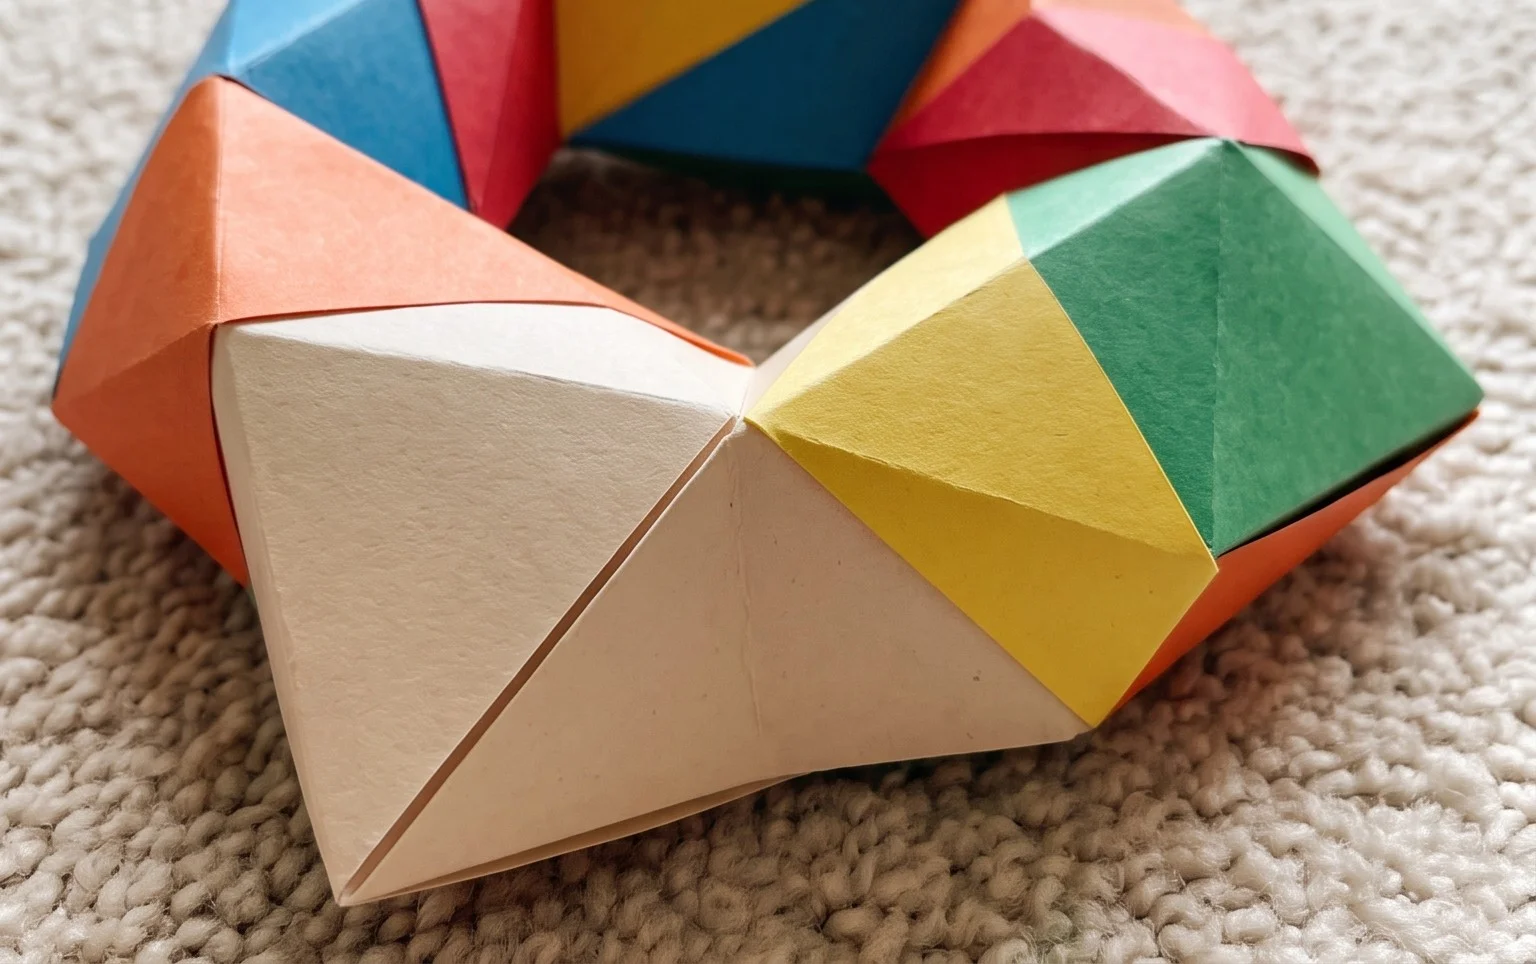
Congratulations on completing your first flextangle! We hope you had a blast folding this fun paper toy. Don’t worry if your first attempt isn’t perfect; every fold is a learning experience, and practice makes progress. We encourage you to share your colorful creations with friends and family – they’re sure to be amazed!
Ready for more? Try these variations: create a longer flextangle by joining two together, or experiment with different patterned papers for a unique look. There are endless possibilities waiting for you to explore. Keep folding, keep creating, and discover even more exciting paper projects!