Easy Origami Crown: Paper Steps | Paper Craft
How to Make an Origami Crown with 6 Pieces of Paper is a fun and surprisingly simple project that will have you creating regal headwear in no time! Imagine a beautiful, multi-pointed crown, intricately folded and ready to adorn a king, queen, or even a playful prince or princess. This tutorial is perfect for complete beginners and kids alike, and it makes for a fantastic handmade gift or a charming decoration for parties. You can expect to complete this project in about 20-30 minutes.
Throughout this tutorial, you’ll learn the magic of modular origami, where multiple simple units come together to form a more complex and stunning creation. We’ll go step-by-step through folding each individual piece and then demonstrate the clever way they interlock to form our magnificent crown. Get your paper ready, and let’s start folding!
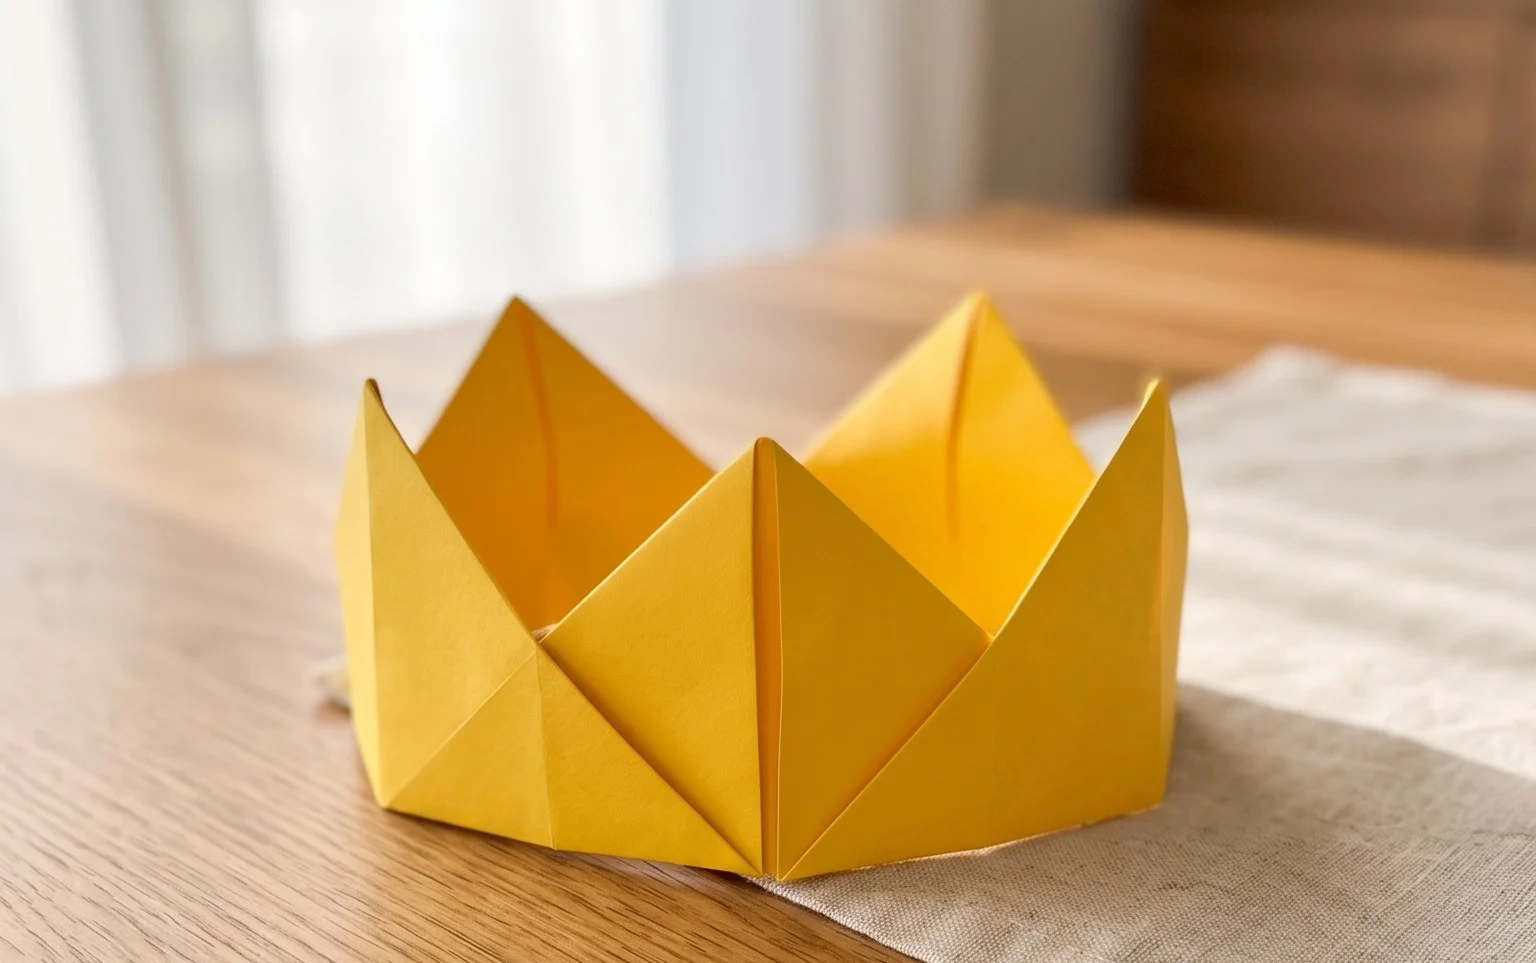
How to Make a Majestic Origami Crown with Six Pieces of Paper
Hello, fellow origami enthusiasts! Today, we’re embarking on a regal crafting adventure. We’re going to create a beautiful, multi-pointed origami crown using six pieces of paper. This project is wonderfully satisfying as it transforms simple squares into a striking, three-dimensional adornment. It might sound complex with six pieces, but I promise, with a little patience and clear instructions, you’ll be crafting crowns like a pro in no time. This crown is perfect for a royal dress-up, a party decoration, or even as a unique handmade gift. Let’s get started!
Choosing Your Royal Paper
The paper you choose is really important for the final look and feel of your crown. For this project, I highly recommend using standard origami paper.
Origami paper typically comes in squares, usually around 6 inches (15 cm) or 8 inches (20 cm). The weight is generally around 70-80 gsm (grams per square meter), which is perfect – not too flimsy that it tears easily, but not too thick that it becomes difficult to fold precisely, especially when you’re layering multiple pieces.
You can use single-sided origami paper, where one side is coloured and the other is white. This can give your crown a lovely two-toned effect if you choose your colours carefully. Alternatively, double-sided origami paper, where both sides are coloured (often in matching or complementary colours), will give you a uniformly vibrant crown. For this particular crown, I find single-sided paper adds a nice visual depth to the points.
For our six-piece crown, you’ll need six identical squares. Consistency in size and type of paper for each piece is key to making the final assembly smooth and the crown look neat.
The Foundation: Understanding the Base Folds
Before we dive into the step-by-step assembly, it’s helpful to understand a few fundamental origami folds that we’ll be using repeatedly. Mastering these will make the whole process much easier.
The “valley fold” is the most common fold. You bring one edge or corner to meet another, and crease the paper along the line where they meet, creating a “V” shape on the surface.
The “mountain fold” is the opposite. You create a crease that pops outwards, forming an inverted “V” shape. Often, a valley fold is made first, and then the paper is reversed to make it a mountain fold.
The “squash fold” is a bit more advanced but crucial for creating dimension. It usually starts with a point or flap. You open the paper slightly and press down to flatten it, creating two triangular flaps.
The “petal fold” is another essential technique. It involves folding two flaps inwards and then flattening them, creating a pointed shape.
For this crown, we’ll be making a modified “preliminary base” for each of our six points. The preliminary base is a fundamental origami unit that looks like a square with two flaps on each side. We’ll be using a variation of this.
Let’s practice one of these base units, which will form the individual points of our crown.
Crafting the Crown Points: A Step-by-Step Walkthrough
We will create six identical points, and then assemble them into our crown.
1. Start with one square of origami paper. If you are using single-sided paper, place it on your work surface with the coloured side facing down.
2. Fold the square in half diagonally to make a triangle. Bring the bottom right corner up to meet the top left corner. Crease firmly along the diagonal edge. You should now have a triangle.
3. Take the triangle and fold it in half again, bringing the bottom left corner up to meet the top right corner. Crease firmly. You now have a smaller triangle, which is a quarter of your original square.
4. Unfold the last fold you just made. You should have the triangle from step 2, with a crease running vertically down the middle.
5. Now, take the bottom right corner of the triangle and fold it up to meet the center crease. The edge of this fold should align perfectly with the center crease. Crease firmly.
6. Repeat step 5 with the bottom left corner. Fold the bottom left corner up to meet the center crease. Crease firmly. You should now have a kite shape.
7. Flip the entire model over to the other side.
8. Take the bottom point of the kite shape (this will be the open edge) and fold it upwards, aligning the raw edge with the top point of the kite. Crease firmly. This fold creates a sort of flap.
9. Now, we need to create the “pocket” that will hold the next point. Take the top layer of the flap you just folded up. Open it up slightly, and then fold the top point downwards along the horizontal crease you made in step 8. Flatten it down. This is a petal fold in progress.
10. Carefully open up the paper along the center crease you made earlier. You should see two flaps on each side. Take one of the flaps on the left and fold it outwards, so its edge aligns with the outside edge of the model. Crease well. This is a modified petal fold.
11. Repeat step 10 on the right side. Take the flap on the right and fold it outwards, aligning its edge with the outside edge of the model. Crease well.
12. You should now have a shape that looks like a long, pointed diamond or a simplified preliminary base with a pointed top. This is one completed “point” of your crown.
13. Repeat steps 1 through 12 six times, making sure each point is folded as identically as possible. You will end up with six of these identical pointed pieces.
Assembling Your Regal Crown
Now for the magical part – bringing these six points together!
1. Take two of your completed points. Notice that one side of each point has a small opening or flap, and the other side has a more solid, closed point. We’ll be inserting the solid point of one into the opening of another.
2. Take one point (let’s call it Point A) and orient it so the opening is facing upwards. Take another point (Point B) and orient it so its solid point is facing downwards.
3. Gently slide the solid point of Point B into the opening of Point A. You want to slide it in as far as it will comfortably go, about halfway down the length of the opening. As you slide it in, try to align the edges and ensure the points are symmetrical.
4. Once they are joined, you will have a slight gap where the two points meet. We need to secure this. Look at Point A. You should see two layers of paper forming the opening. Take one of these layers and fold it over the inserted point of Point B, securing it in place. Crease firmly.
5. Now, look at Point B. You will see the corresponding two layers on its opening. Take one of these layers and fold it over the point of Point A. Crease firmly. This interlocking and folding action will join the two points securely.
6. You should now have two points joined together, forming a slightly wider base.
7. Now, take a third point (Point C). You’ll be joining this to the exposed side of either Point A or Point B. Let’s join it to the exposed side of Point A. Orient Point C so its solid point is facing downwards and its opening is facing upwards. Slide the solid point of Point C into the opening of Point A, again about halfway.
8. Secure Point C to Point A in the same way you did in steps 4 and 5. Fold over the flaps from Point A onto Point C, and then fold over the flaps from Point C onto Point A.
9. Continue this process, adding one point at a time. You will be attaching each new point to one of the already joined points, essentially building out from the center. Imagine you are creating a ring. You’ll attach the fourth point to Point B, the fifth to Point C, and finally the sixth point will connect back to Point D (the one you attached to Point B), completing the circle.
10. As you join the last point, you will need to connect it to both the first and the last point you added to create a complete circle. This might require a bit of gentle maneuvering to get the last point to interlock securely. Ensure all the flaps are tucked in and creased firmly to create a strong, cohesive crown.
Common Pitfalls and How to Avoid Them
Even experienced folders sometimes stumble, so don’t worry if you encounter a hiccup. Here are a few common areas where beginners can go wrong:
* **Imprecise Creasing:** This is probably the most frequent issue. If your creases aren’t sharp and accurate from the very beginning, subsequent folds will be difficult, and the final model will look messy and uneven.
* **How to Avoid:** Use your fingernail or a bone folder (if you have one) to make every crease as sharp and defined as possible. Ensure you are aligning edges and corners perfectly before creasing. Take your time on each fold, especially in the initial base formation of each point.
* **Uneven Points:** When making the six individual points, if they aren’t all folded exactly the same, the final crown won’t sit straight or look symmetrical.
* **How to Avoid:** Be meticulous when making each point. After completing the first point, use it as a template for the others. Lay them side-by-side to compare and ensure they are identical. If one is a little off, gently adjust it before moving on to assembly.
* **Difficulty Joining the Points:** The assembly phase can be tricky. If the pockets aren’t open enough or the points aren’t inserted straight, they won’t interlock properly, and the crown might fall apart or look lopsided.
* **How to Avoid:** When joining points, don’t force them. Gently ease the point into the pocket. If it feels too tight, you might need to slightly loosen the previous folds on that point. Ensure you’re folding the securing flaps over firmly. Sometimes, the last join to complete the circle is the trickiest. Be patient, and try to get the last point to slot in smoothly. It might help to slightly curve the crown as you join the final piece.
Varying Your Crown’s Royal Design
The beauty of origami is its endless possibility for customization! Here are some ways to make your crown unique:
* **Size:**
* To make a larger crown, simply start with larger squares of paper. If you want a significantly bigger crown, you might consider using slightly thicker paper to maintain rigidity.
* For a smaller crown, use smaller squares. This is great for doll accessories or for creating a delicate crown.
* **Paper Pattern and Colour:**
* **Patterned Paper:** Use scrapbook paper, wrapping paper, or even printed designs on plain paper. Geometric patterns, floral designs, or metallic finishes can add incredible visual interest.
* **Colour Combinations:** If using single-sided paper, experiment with different colour combinations for the points. You could alternate colours, create a gradient effect, or even use a mix of solid colours and patterns.
* **Metallic Accents:** Using gold or silver origami paper for some or all of the points can create a truly luxurious feel.
Displaying and Gifting Your Masterpiece
Your finished origami crown is more than just a craft; it’s a piece of art!
* **Display:**
* **Table Centerpiece:** Place it on a mantelpiece, bookshelf, or as a stunning centerpiece for a party table.
* **On a Doll or Mannequin:** If you’ve made it for a specific doll or action figure, crown them with pride!
* **Part of a Diorama:** It can add a regal touch to any miniature scene.
* **Gifting:**
* **Birthday Gift:** Present it to a child (or an adult who loves a bit of whimsy!) for their birthday.
* **Party Favor:** If you’ve made several, they can be wonderful, unique party favors.
* **Seasonal Decorations:** Imagine these adorning your home during festive seasons or royal-themed events.
* **”Thinking of You” Gift:** A handmade gift carries a special warmth and thoughtfulness.
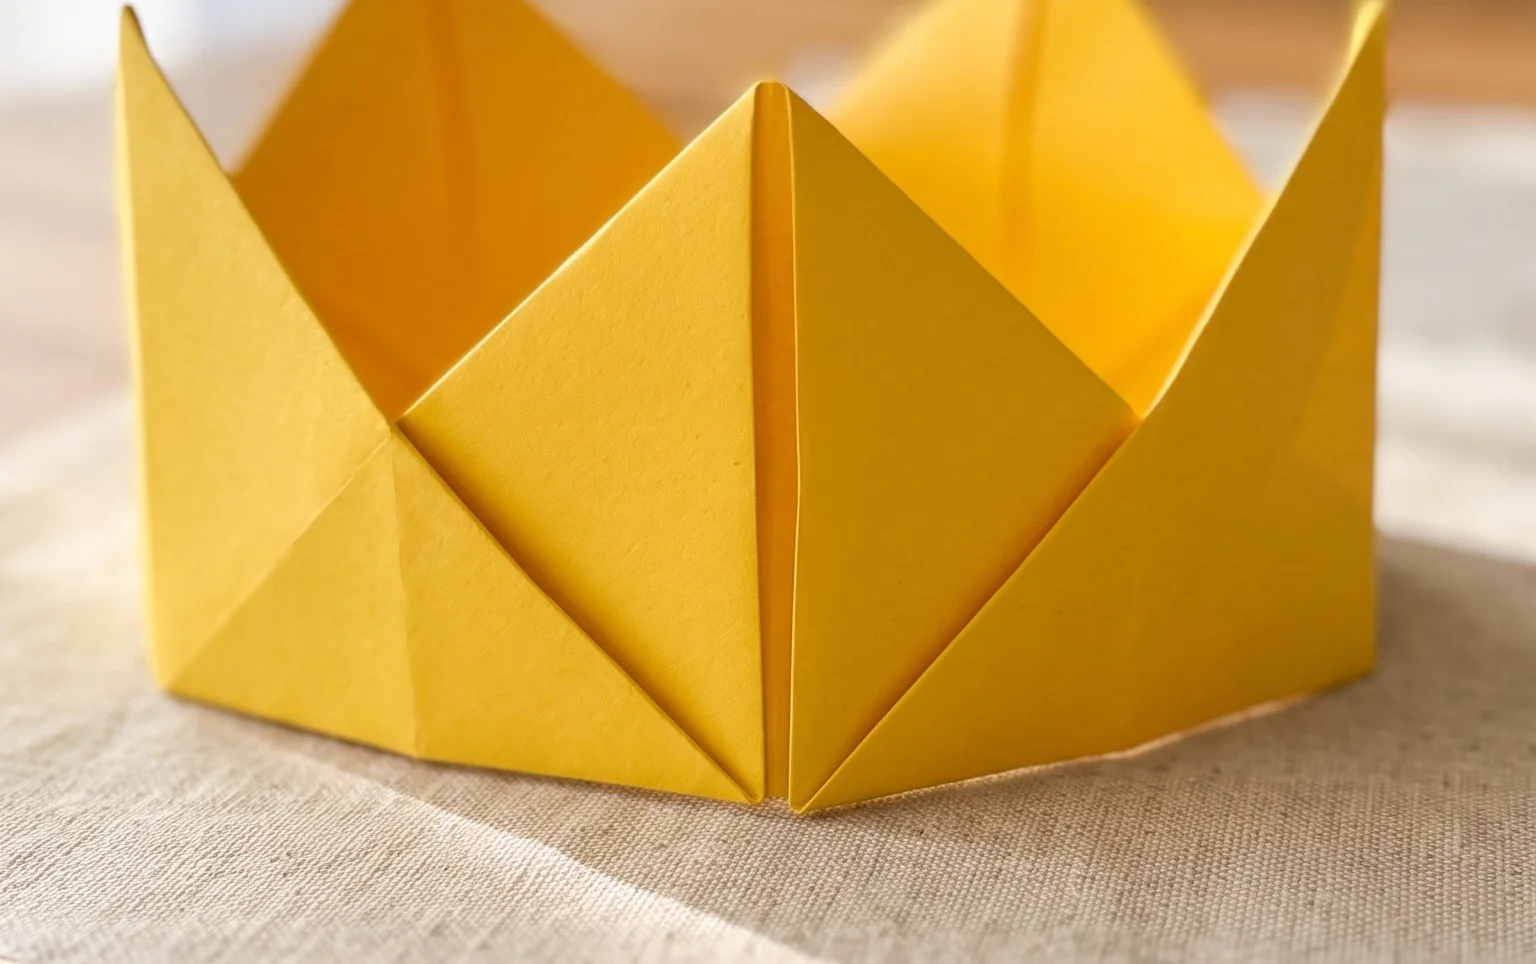
Congratulations on creating your very own origami crown! I hope you enjoyed the process and are delighted with your majestic creation. Remember, practice makes perfect, so don’t be discouraged if your first attempt isn’t flawless. Each crown you fold will become even more beautiful. Happy folding!
Conclusion
Congratulations on completing your beautiful origami crown! We hope you enjoyed this rewarding paper project. Don’t be discouraged if your first attempt isn’t perfect – practice makes progress, and each folded crown brings you closer to mastery. We’d love to see your regal creation! Share a photo with us or display it proudly. For your next adventure, why not try creating a smaller, more intricate origami crown, or perhaps experiment with different colored papers to make a vibrant collection? There are countless other amazing paper projects waiting for you to discover, so keep exploring and folding!
